Wie man eine Registrierungs-/Anmeldeseite für WP Job Manager erstellt
WP Job Manager doesn’t provide a built-in registration/login page. But Do not worry. Creating a custom registration/login page for WP Job Manager involves a few steps, including installing a plugin and customizing your theme.
Simply Follow this step-by-step tutorial
Step 1: Install WP Job Manager
Make sure you have the WP Job Manager plugin installed and activated on your WordPress site. You can install it by going to your WordPress dashboard:

Recommended to activate "Enable account creation during submission" and select the "Employer" As a Role.

Step 2. Activate default Membership Option


Step 3: Install and Activate Theme My Login
To create a custom registration and login page, we'll use the "Theme My Login" plugin. Follow these steps:

Step 4: Configure Theme My Login
You will see this section. Now you need to create login and registration pages with same slug

Step 5: Create Custom Pages
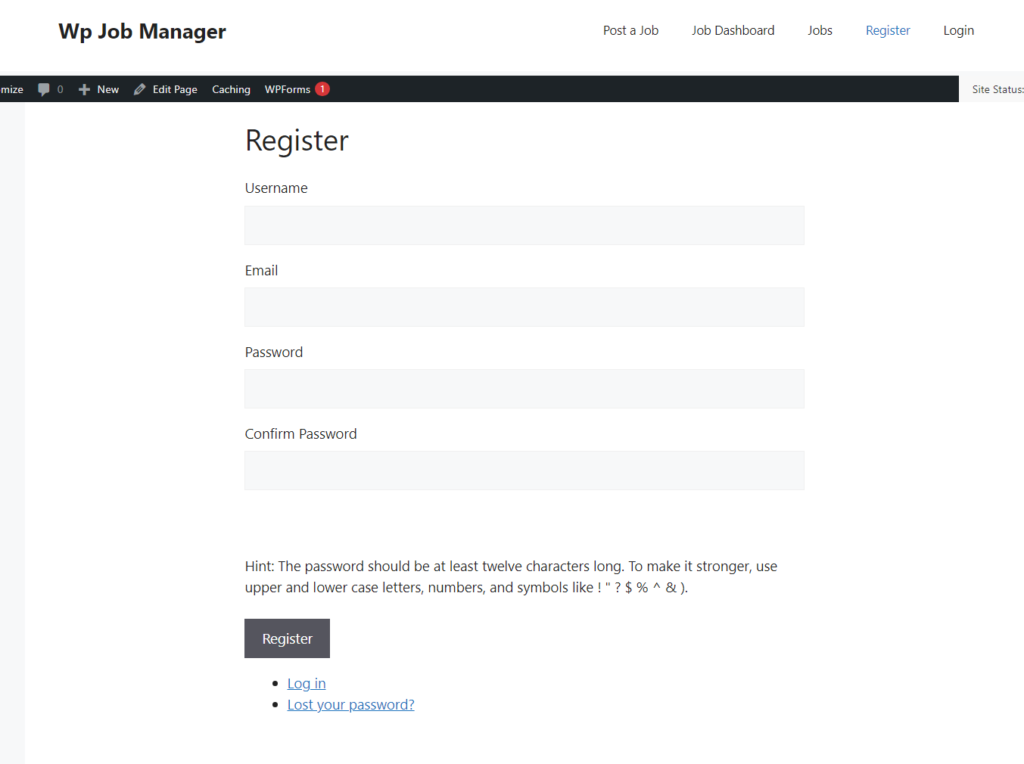
Title the first page "Register" and use the [theme-my-login] shortcode.

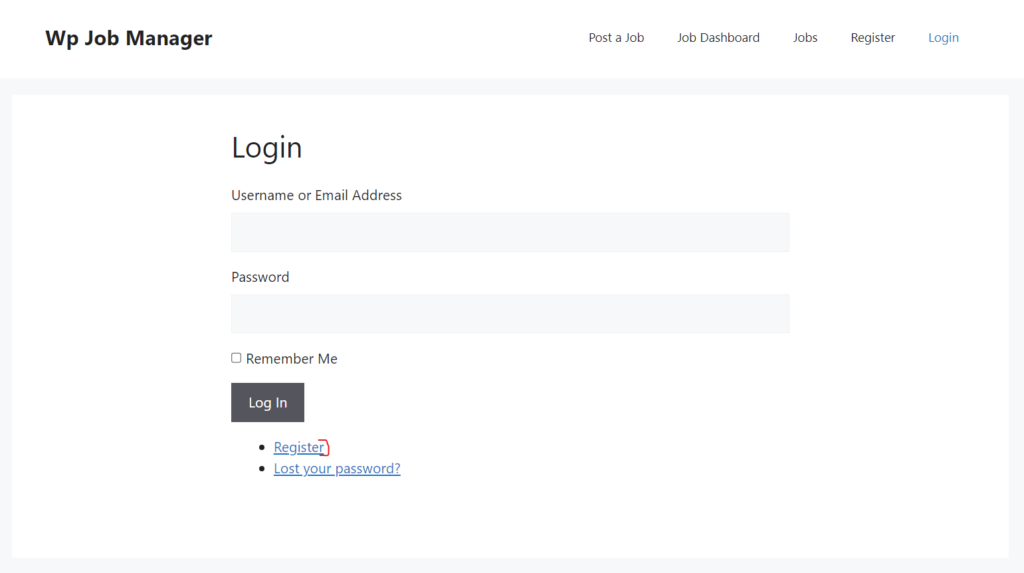
Title the second page "Login" and use the [theme-my-login] shortcode as well.

Step 6: Customize the Pages
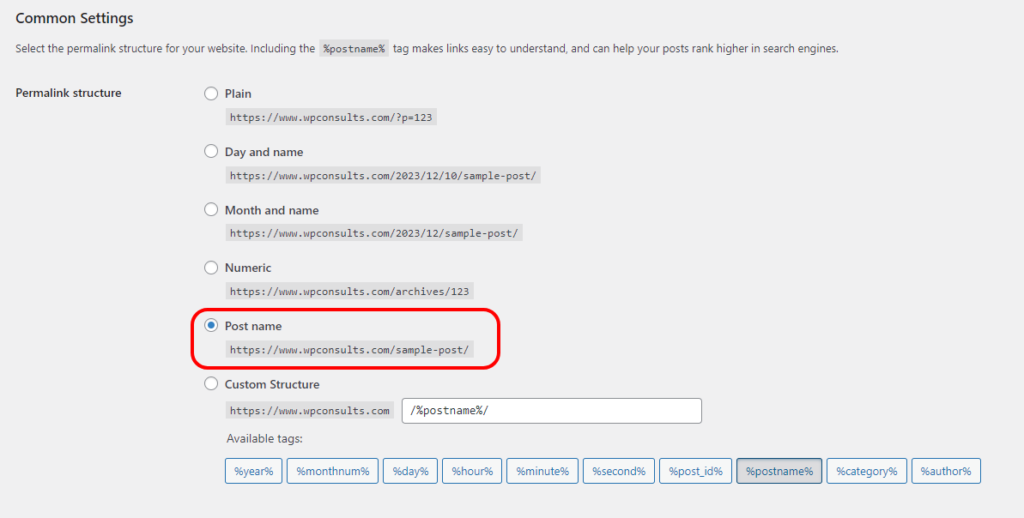
Step 7: Set Up Permalinks

Step 8: Test the Registration and Login Pages


Step 9: Style Customization (Optional)
If you want to further customize the appearance of your registration and login pages:

Step 10: Ensure Compatibility
Make sure that your theme and other plugins are compatible with the registration/login system you've implemented. If you encounter issues, check for theme or plugin conflicts.
That's it! You've created a custom registration and login page for WP Job Manager using the Theme My Login plugin.


